tello drone manual
Tello Drone Manual: A Comprehensive Guide
This comprehensive guide details the Tello drone, covering setup, flight, safety, and troubleshooting. Explore features like Bounce mode and EZ Shots, alongside firmware updates.
The Tello drone represents an accessible entry point into the world of drone technology, blending affordability with a surprisingly robust feature set. Developed by Ryze Technology and incorporating DJI’s flight control expertise, the Tello is designed for both recreational users and educational purposes.
This compact quadcopter distinguishes itself with its Vision Positioning System (VPS), enabling stable indoor flight without relying on GPS. Its integrated camera captures 5MP photos and streams clear 720p video directly to your smartphone or tablet via the dedicated Tello app.
Beyond basic flight, the Tello offers exciting features like 8D Flips, Bounce mode, and EZ Shots, enhancing the flying experience. Whether you’re a beginner or seeking a programmable drone for learning, the Tello provides a versatile and engaging platform.
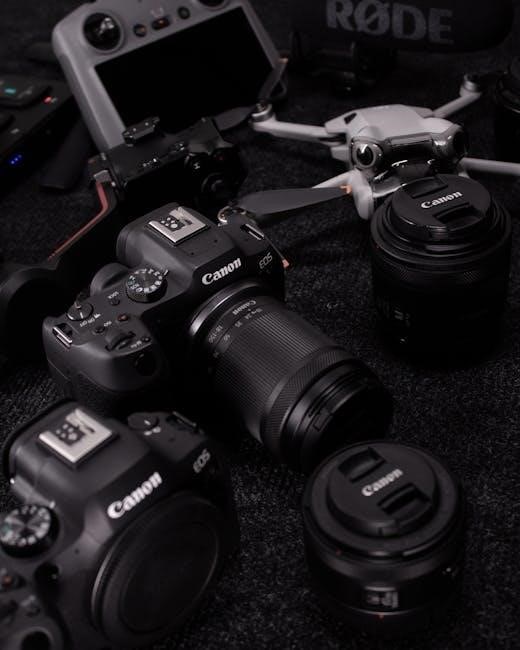
What’s in the Box: Unboxing Your Tello
Upon opening your Tello package, you’ll find several key components to get you airborne. The box includes the Tello drone itself, a set of four propellers (with one spare included for a total of five), and a battery. A crucial element is the USB charging cable, used to power up the drone’s battery.
You’ll also discover a propeller guard set, vital for indoor flying and protecting the propellers from collisions. The quick start guide provides essential initial setup instructions, while a full user manual is available online for detailed information.
Ensure all items are present before proceeding. Carefully inspect the drone and components for any damage incurred during shipping. Retain the packaging for potential future use or returns.
Tello Drone Specifications
The Tello drone boasts impressive features within a compact design. It’s equipped with a 5MP camera capable of capturing photos and recording 720p HD video, providing clear visuals for your flights. Its intelligent flight system includes a Vision Positioning System (VPS) for stable hovering, even without GPS.
The Tello’s flight time is approximately 13 minutes on a full charge, with a maximum flight distance of around 100 meters. It weighs a mere 80 grams, making it lightweight and easily portable. Dimensions are 98.5 x 92.5 x 41 mm.
This drone is designed for recreational use, offering a user-friendly experience with intuitive controls and advanced features like 8D flips and bounce mode.
Camera Specifications (5MP Photos, 720p Video)
The Tello drone’s camera captures stunning 5-megapixel still photos, perfect for aerial snapshots. It also records smooth 720p HD video, allowing you to document your flights and create engaging content. The camera streams live video directly to your smartphone or tablet via the Tello app, providing a first-person view during flight.
While not professional-grade, the camera quality is excellent for a drone in this price range, offering vibrant colors and sufficient detail for casual use. Images and videos are stored directly on your mobile device, providing easy access for editing and sharing. The camera’s performance is optimized for indoor and outdoor environments.
Flight Time and Range
The Tello drone offers an approximate flight time of 13 minutes on a full battery charge, providing ample opportunity for exploration and fun. However, flight duration can vary depending on environmental factors like wind and temperature, as well as flight style. Aggressive maneuvers will naturally reduce flight time.
Regarding range, the Tello utilizes a Wi-Fi connection to the controlling device, typically a smartphone or tablet. The maximum transmission distance is around 100 meters (328 feet) in optimal conditions. Obstructions and interference can significantly reduce this range, so maintaining a clear line of sight is crucial for safe operation.
Dimensions and Weight
The Tello drone is remarkably compact and lightweight, making it highly portable and ideal for both indoor and outdoor use. Its dimensions are approximately 98.7 x 92.5 x 41 mm (3.88 x 3.64 x 1.61 inches), allowing it to navigate confined spaces with ease. This small size contributes to its agility and maneuverability.
Weighing in at only 80 grams (2.82 ounces), the Tello falls under the regulatory weight threshold in many regions, simplifying registration requirements for recreational users. This lightweight design doesn’t compromise durability, as the drone features integrated propeller guards for added protection against collisions and impacts.
Getting Started: Initial Setup
Initial setup of your Tello drone is straightforward, ensuring a quick entry into the world of drone flight. Begin by downloading and installing the official Tello app on your smartphone or tablet – available for both iOS and Android. Once installed, power on your Tello and connect to the Tello Wi-Fi network, which will appear in your device’s available networks.
Before your first flight, ensure the battery is fully charged using the provided USB cable. Proper battery charging and management are crucial for optimal performance and longevity. The app will guide you through the remaining setup steps, including calibration and safety tutorials. Following these steps will prepare you for a safe and enjoyable flying experience.
Downloading and Installing the Tello App
Downloading and installing the Tello app is the first step to unlocking your drone’s full potential. The app serves as your primary control center and provides access to all features. You can find the Tello app on both the Apple App Store (for iOS devices) and the Google Play Store (for Android devices). Simply search for “Ryze Tello” within the respective store.
Once located, tap “Install” and allow the app to download and install on your device. The download size is relatively small, so it shouldn’t take long. After installation, open the app and grant the necessary permissions, such as access to your camera and location. These permissions are essential for the app to function correctly and provide a seamless flying experience.
Connecting to the Tello Wi-Fi Network
Connecting your smartphone or tablet to the Tello’s Wi-Fi network is crucial for establishing communication and control. Power on your Tello drone; it automatically broadcasts its own Wi-Fi signal. Navigate to your device’s Wi-Fi settings and locate the network named “Tello-[serial number].” Select this network – it doesn’t require a password.
Allow your device a few moments to connect. Once connected, the Tello app will automatically detect the drone. If it doesn’t, ensure you’re connected to the correct Wi-Fi network and that the drone is powered on. A successful connection is indicated by a solid blue status light on the Tello and a connected status within the app.
Battery Charging and Management
Proper battery care is essential for maximizing your Tello’s flight time and lifespan. The Tello utilizes a LiPo battery, requiring specific charging procedures. Use only the provided USB charging cable and a 5V/1A power adapter. Charging typically takes around 90 minutes, indicated by a solid red light on the drone.
Once fully charged, the light turns off. Avoid overcharging the battery, as this can damage it. Store batteries at room temperature and never leave them unattended while charging. Always remove the battery if storing the drone for extended periods. Regularly check the battery for any signs of damage, such as swelling or leakage.
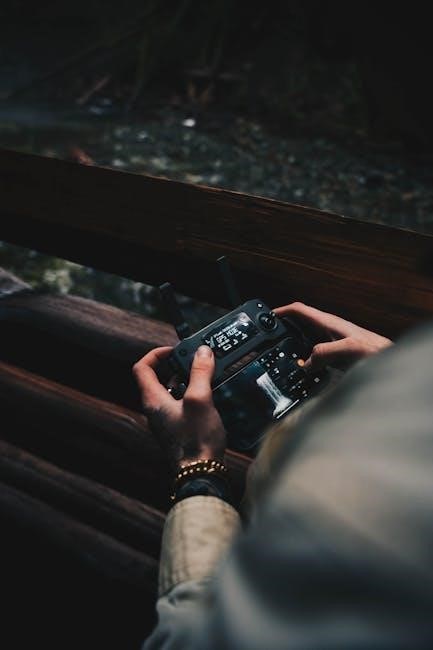
Flight Controls and Operation
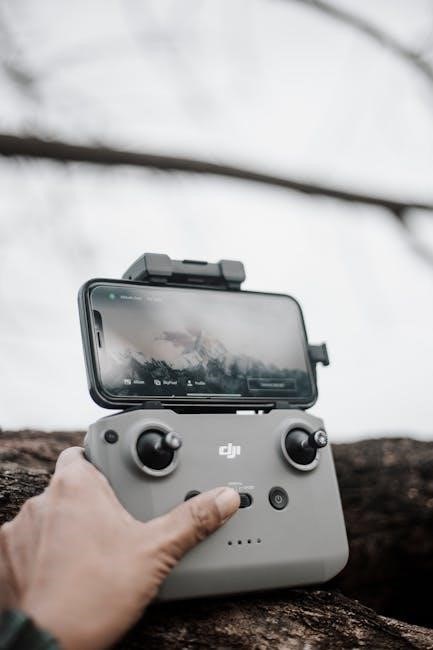
Mastering flight with the Tello is intuitive, utilizing the Tello app interface on your smartphone or tablet. Basic commands include takeoff, land, and directional controls – forward, back, left, and right – executed via on-screen buttons or joystick mode. Precise control requires practice and understanding of the drone’s responsiveness.
The app provides a live video feed, crucial for navigation. Explore the three flight modes: Normal (standard stabilization), ATR (attitude mode for more control), and User (for programming with SDKs). Familiarize yourself with the app’s settings to adjust flight parameters and customize your experience. Safe and controlled flight is paramount.
Basic Flight Commands (Takeoff, Land, Forward, Back, Left, Right)
Initiating flight begins with a simple tap for Takeoff within the Tello app; ensure a clear, open space. Landing is equally straightforward, activated with another on-screen button. Forward, Back, Left, and Right movements are controlled via the app’s virtual joystick or directional buttons.
Gentle joystick movements yield smoother flight. Practice these commands in an open area to gauge the Tello’s responsiveness. Be mindful of obstacles and maintain visual contact. Short, controlled inputs are preferable to abrupt, large movements. Mastering these basics is fundamental for safe and enjoyable flying. Remember to calibrate before each flight.
Using the Tello App Interface
The Tello app serves as your primary control center. The main screen displays a live video feed from the drone’s camera, alongside essential flight information like battery level and signal strength. Virtual joystick controls govern movement – forward, back, left, and right – while buttons initiate takeoff and landing.
Explore the settings menu to adjust camera parameters, configure flight modes, and access advanced features. The app also facilitates firmware updates and provides access to tutorials. Familiarize yourself with the interface before flying. Intuitive icons and clear labeling enhance usability. Regularly check for app updates to benefit from new features and improvements.
Understanding Flight Modes (Normal, ATR, User)
Tello offers three distinct flight modes: Normal, ATR (Attitude), and User. Normal mode provides full stabilization and beginner-friendly controls, ideal for initial flights. ATR mode maintains altitude but allows for tilting control, offering more maneuverability. User mode unlocks advanced control, enabling programming via Scratch or Python (Tello EDU).
Switching modes impacts flight characteristics. Normal mode prioritizes stability, while ATR and User modes demand greater pilot skill. Understanding these differences is crucial for safe and enjoyable flying. Experiment with each mode to determine which best suits your experience level and desired flight style. Always start with Normal mode.
Advanced Flight Features
Tello boasts several advanced features enhancing the flying experience. 8D Flips allow for spectacular acrobatic maneuvers with a simple swipe in the app. Bounce Mode enables the drone to automatically bounce off surfaces, creating unique aerial perspectives. EZ Shots, including Circle, Upward, and Fade, automate complex camera movements for cinematic footage.
These features require open space and careful execution. Practice 8D Flips in a wide-open area, and be mindful of obstacles when using Bounce Mode. EZ Shots simplify capturing professional-looking videos. Mastering these features unlocks Tello’s full potential, providing creative control and impressive aerial capabilities.
8D Flips and Stunts
Tello’s 8D Flips are a signature feature, enabling impressive aerial acrobatics. Initiated through the Tello app with a simple swipe, these flips execute eight different directions of rotation. Before attempting 8D Flips, ensure a spacious, unobstructed environment free from obstacles and people. Maintain a safe altitude to allow ample room for maneuverability.
Successful execution requires practice and understanding of the drone’s responsiveness. Start with gentle swipes and gradually increase intensity. Be prepared for slight drift during the flip. While fun, prioritize safety and avoid performing flips near fragile objects or in crowded areas; Mastering 8D Flips adds a dynamic element to your Tello flights.
Bounce Mode Explained
Tello’s Bounce Mode offers a unique and playful flight experience. When activated within the Tello app, the drone will automatically bounce off surfaces upon contact, allowing for controlled indoor flight without constant directional input. Ensure a soft, clear landing surface – like a bed or carpet – to prevent damage to the drone or surroundings.
Bounce Mode relies on the Vision Positioning System (VPS) for accurate detection of surfaces. It’s ideal for confined spaces and creating dynamic video footage. However, avoid using Bounce Mode outdoors or on uneven terrain. Always maintain visual contact with the drone and be prepared to regain manual control if needed. Experiment with different surfaces for varied bouncing effects!
EZ Shots (Circle, Upward, Fade)
Tello’s EZ Shots simplify capturing cinematic footage with pre-programmed flight patterns. Within the Tello app, select from three modes: Circle, Upward, and Fade. Circle orbits the subject, maintaining a consistent distance. Upward ascends vertically, revealing the surrounding landscape. Fade begins close and gradually moves away, creating a dramatic reveal.
These modes are perfect for beginners and offer creative possibilities. Before initiating an EZ Shot, ensure a clear flight path free of obstacles. Adjust the flight parameters within the app to customize the shot’s duration and radius. Remember to maintain visual contact with the drone throughout the automated sequence for safe operation.
Safety Features and Precautions
Tello incorporates several safety features to enhance flight security. The Vision Positioning System (VPS) enables stable hovering indoors, even without GPS. A low battery warning alerts you when power is dwindling, automatically initiating Return-to-Home (RTH) if the signal is lost or battery critically low.
Prioritize safe flying practices. Always fly in open areas, away from people and obstacles. Understand the difference between indoor and outdoor flying; outdoor conditions require more caution. Regularly check propeller condition and battery health. Never fly near airports or restricted airspace. Familiarize yourself with local drone regulations before each flight.
Vision Positioning System (VPS) Details
Tello’s Vision Positioning System (VPS) utilizes a downward-facing camera to analyze ground patterns, enabling stable flight without relying on GPS. This is crucial for indoor operation where GPS signals are unavailable. The VPS allows Tello to hover accurately in place and maintain its position, even with slight disturbances.
However, the VPS has limitations. It performs best on textured surfaces with sufficient lighting. Avoid flying over highly reflective or uniformly patterned surfaces, as these can confuse the system. Ensure adequate lighting for optimal VPS performance. The VPS contributes significantly to Tello’s ease of use and stability, particularly for beginner pilots.
Low Battery Warning and Return-to-Home Function
Tello provides timely low battery warnings through both visual and auditory alerts within the app. These warnings indicate decreasing flight time, prompting you to land the drone safely. When the battery reaches a critically low level, Tello will initiate its Return-to-Home (RTH) function.
RTH automatically attempts to fly Tello back to its takeoff point. However, RTH relies on a strong Wi-Fi connection and clear visibility for the VPS to function correctly. Obstacles can interfere with RTH, so always maintain visual line of sight and be prepared to take manual control. Regularly check battery levels before and during flight to prevent unexpected landings.
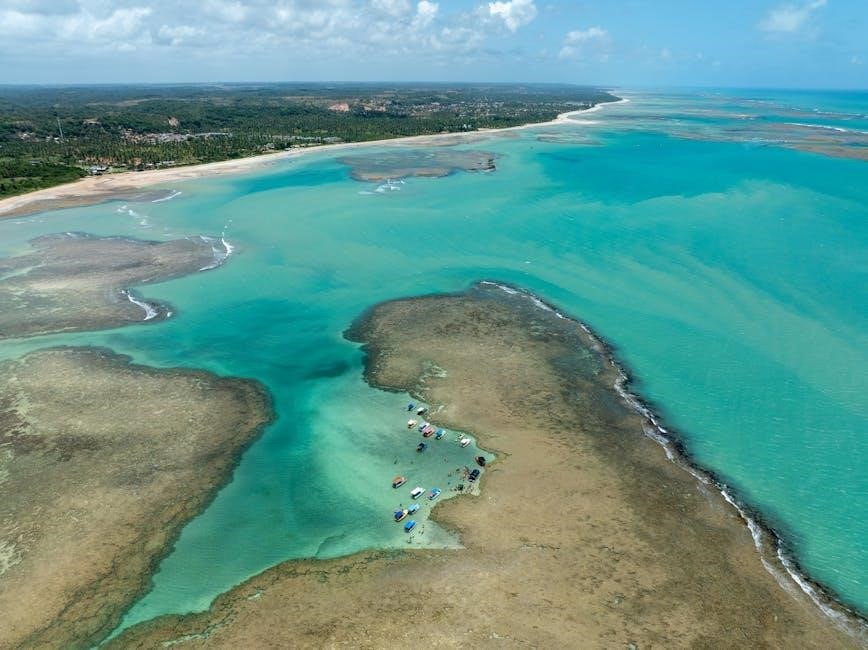
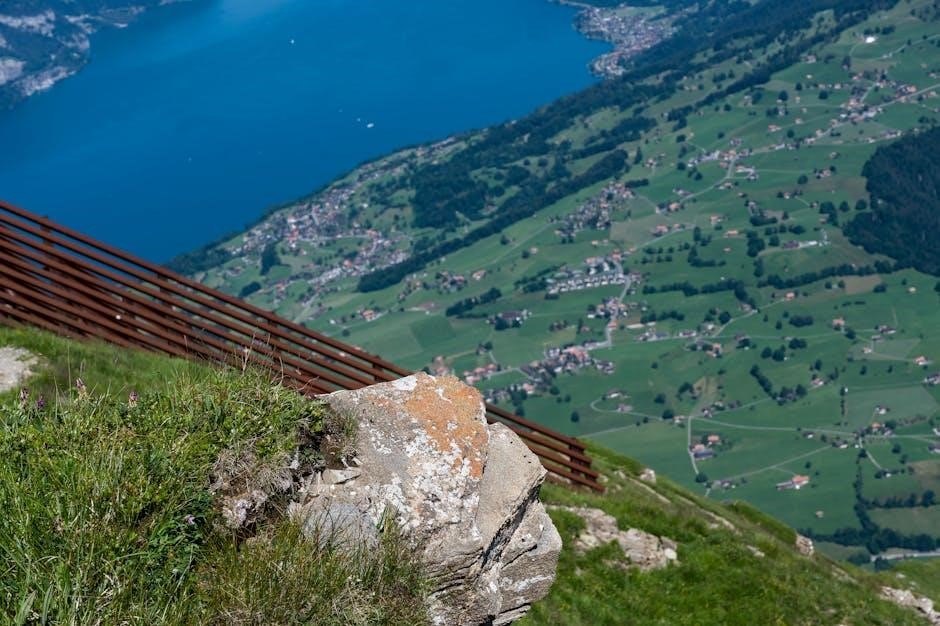
Fly Safe: Indoor vs. Outdoor Flying
Tello excels in indoor environments due to its Vision Positioning System (VPS), enabling stable hovering without GPS. However, outdoor flight requires caution. Wind can significantly impact Tello’s stability, reducing control and battery life. Avoid flying in windy conditions or near obstacles like trees and power lines.
Outdoors, ensure a clear, open space with minimal interference. While Tello can fly outside, its smaller size and limited range make it more susceptible to environmental factors. Always prioritize safety, maintain visual line of sight, and be aware of your surroundings. Remember, responsible flying ensures a positive experience.
Troubleshooting Common Issues
Connection problems with the Tello app are frequent; ensure your phone’s Wi-Fi is connected to the drone’s network and the app has necessary permissions. If the drone isn’t responding, try restarting both the drone and the app. A recalibration of the compass might also resolve control issues.
Camera issues, like a black screen, often stem from app glitches – force closing and reopening usually fixes this. Check for firmware updates, as these frequently address software bugs. If problems persist, consult the online Tello community forums for solutions or contact Ryze Tech support for assistance.
Connection Problems with the App
Frequent connection issues between the Tello app and the drone often arise from Wi-Fi interference or incorrect network selection. Verify your smartphone is connected to the Tello’s dedicated Wi-Fi network, not your home network. Ensure the drone is powered on before opening the app.
If the app fails to connect, try toggling airplane mode on and off on your phone, or restarting both the drone and the app. Confirm the app has the necessary permissions (location, camera) enabled in your phone’s settings. A weak Wi-Fi signal can also cause disconnections; fly closer to the drone.
Drone Not Responding to Controls
If your Tello isn’t responding to commands within the app, first ensure a stable Wi-Fi connection exists between your phone and the drone. Recalibrate the drone by performing a takeoff and landing sequence. Confirm the drone is within the specified flight range and isn’t experiencing signal interference.
Check the battery level; low battery can limit responsiveness. A full reset of the app and drone can often resolve software glitches. Ensure the drone’s propellers are securely attached and undamaged. If issues persist, try a different smartphone or tablet to rule out device-specific problems.
Camera Issues and Solutions
Experiencing camera problems with your Tello? First, verify the camera lens is clean and free of obstructions. Within the Tello app, check camera settings to ensure proper resolution and video format are selected. If the live video feed is distorted or frozen, try restarting both the drone and the app.
Confirm sufficient lighting conditions, as low light can affect image quality. Ensure the SD card (if used) has enough storage space and is properly inserted. A firmware update might resolve software-related camera glitches. If the camera consistently fails, contact Ryze Technology support for assistance.
Maintenance and Care
Regular maintenance ensures your Tello’s longevity. Propeller replacement is crucial after crashes or noticeable damage; always replace all four simultaneously for balanced flight. Battery care involves storing batteries at room temperature, partially charged, when not in use to prevent degradation. Avoid overcharging or completely draining the battery.
Cleaning the drone’s exterior with a soft, dry cloth removes dust and debris. Inspect the motors for obstructions. Periodically check the camera lens for smudges. Proper storage in a protective case safeguards against physical damage during transport. Following these steps will keep your Tello flying smoothly.
Propeller Replacement
Replacing propellers is straightforward but vital for safe flight. First, power off the Tello. Identify the correct propeller – marked ‘A’ or ‘B’ – as each motor spins a specific direction. Use a Phillips head screwdriver to remove the damaged propeller’s screw. Align the new propeller correctly, ensuring a snug fit.
Tighten the screw securely, but avoid over-tightening. Always replace propellers in pairs, even if only one is damaged, to maintain balanced flight characteristics. Incorrect propeller installation can lead to instability and crashes. Replacement propellers are readily available online. Regularly inspect propellers for cracks or bends.
Battery Care and Storage
Proper battery care maximizes lifespan and performance. Always fully charge the battery before its initial use. Avoid completely discharging the battery, as this can damage it. Store the battery at room temperature, ideally between 20°C and 25°C (68°F and 77°F).
Do not expose the battery to extreme temperatures – avoid direct sunlight or freezing conditions. When storing for extended periods (over a month), discharge the battery to approximately 40-60% capacity. Use the designated Tello charger only; third-party chargers may cause damage. Regularly check the battery for swelling or damage, and discontinue use if any is observed.
Cleaning Your Tello Drone
Regular cleaning maintains optimal performance and extends the lifespan of your Tello. Before cleaning, ensure the drone is powered off and the battery is removed. Use a soft, dry cloth to wipe down the drone’s body and propellers. For stubborn dirt, lightly dampen the cloth with water – avoid getting water inside the drone.
Do not use harsh chemicals, solvents, or abrasive cleaners, as these can damage the plastic components. Pay particular attention to cleaning the propellers, ensuring they are free of debris for balanced flight. Inspect the vision positioning system (VPS) sensor and gently clean it with a soft brush if necessary. Allow the drone to fully dry before reassembling and flying.
Tello EDU vs. Standard Tello
Both Tello and Tello EDU are manufactured by Shenzhen Ryze Technology, utilizing DJI flight control technology. However, the Tello EDU is specifically designed for educational purposes, offering enhanced programming capabilities. While the standard Tello focuses on recreational flight and fun features, the EDU version prioritizes coding and STEM learning.
The key difference lies in the software and accessibility for programming. Tello EDU supports coding languages like Scratch and Python, allowing students to learn and experiment with drone control through code. This opens doors to educational applications, fostering computational thinking and problem-solving skills. The standard Tello has limited programming options.
Programming with Scratch and Python
Tello EDU’s core strength is its accessibility to coding, specifically through Scratch and Python. Scratch, a visual block-based programming language, is ideal for beginners, allowing users to drag and drop code blocks to control the drone’s movements and actions. This provides an intuitive introduction to programming concepts.
For more advanced users, Python offers greater flexibility and control. Utilizing Python, developers can write complex scripts to automate flight patterns, integrate sensors, and create custom applications. The Tello EDU SDK provides the necessary tools and libraries to interface with the drone via Python, enabling sophisticated programming projects and experimentation.
Educational Applications of Tello EDU
Tello EDU excels as a versatile educational tool, fostering STEM learning across various disciplines. It’s used to teach programming fundamentals, robotics principles, and computational thinking in an engaging, hands-on manner. Students can develop projects involving autonomous navigation, object recognition, and data collection.
Beyond coding, Tello EDU supports lessons in physics, mathematics, and engineering. Students can analyze flight dynamics, calculate trajectories, and design solutions to real-world problems. Its affordability and ease of use make it accessible for classrooms and individual learners, promoting innovation and problem-solving skills through practical application.
Firmware Updates and How to Apply Them
Regular firmware updates are crucial for maintaining optimal Tello performance, stability, and security; These updates often include bug fixes, new features, and improved flight capabilities. To update your drone, ensure it’s sufficiently charged and connected to a stable Wi-Fi network.
Within the Tello app, navigate to the settings menu and check for available updates. The app will guide you through the download and installation process, which typically takes several minutes. Do not interrupt the update process, as this could damage the drone’s software. Successful updates enhance the overall flying experience and unlock new functionalities.