th8320r1003 installation manual pdf
Honeywell TH8320R1003 Installation: A Comprehensive Guide
This guide details the installation of the Honeywell TH8320R1003 VisionPRO 8000 thermostat, referencing the official
TH8320R1003 installation manual PDF for detailed instructions and terminal designations.
Understanding the VisionPRO 8000 Thermostat
The Honeywell VisionPRO 8000 (TH8320R1003) represents a significant advancement in home climate control, offering a user-friendly interface and robust functionality. As detailed in the TH8320R1003 installation manual PDF, this thermostat is designed for multistage heating and cooling systems, providing precise temperature management and energy savings.
Its intuitive touchscreen display allows for easy programming and adjustment of settings. The VisionPRO 8000 isn’t just a temperature regulator; it’s a central hub for comfort, capable of integrating with Honeywell’s RedLINK wireless accessories for expanded control. Understanding its capabilities, as outlined in the manual, is crucial for a successful installation and optimal performance. The thermostat’s compatibility with various systems, alongside its advanced features, makes it a popular choice for homeowners seeking a modern and efficient climate control solution.
Key Features of the TH8320R1003 Model
The Honeywell TH8320R1003 boasts several key features, comprehensively documented in the TH8320R1003 installation manual PDF. Notably, it supports multistage heating and cooling, optimizing comfort and efficiency. Its vibrant touchscreen display simplifies programming and operation, offering customizable scheduling options.
A standout feature is its compatibility with RedLINK Wireless Technology, enabling seamless integration with remote sensors and accessories. This allows for zoning and remote control capabilities. The manual details how to leverage these features for enhanced home comfort. Furthermore, the thermostat offers smart alerts and energy usage reporting, promoting mindful consumption. Its ability to learn your heating and cooling preferences further enhances efficiency, making it a smart investment for any home. The detailed manual provides step-by-step guidance on utilizing each feature.
RedLINK Wireless Technology Explained
RedLINK Wireless Technology, central to the Honeywell TH8320R1003’s functionality, is thoroughly explained within the TH8320R1003 installation manual PDF. This proprietary wireless protocol facilitates reliable communication between the thermostat and compatible accessories, such as remote sensors and outdoor modules.
Unlike traditional wireless systems, RedLINK operates on a dedicated frequency, minimizing interference and ensuring consistent connectivity. The manual details the linking process, which is straightforward and doesn’t require professional assistance. This technology enables zoning capabilities, allowing for independent temperature control in different areas of your home. It also supports remote access and control via the Honeywell Home app, providing convenience and energy savings. The manual provides troubleshooting tips for RedLINK connectivity issues, ensuring a smooth setup and operation.
Pre-Installation Checklist
Before starting, consult the TH8320R1003 installation manual PDF to verify system compatibility, gather necessary tools, and review crucial safety precautions.
Tools Required for Installation
Successful installation of the Honeywell TH8320R1003, as detailed in the TH8320R1003 installation manual PDF, necessitates specific tools. A Phillips head screwdriver is essential for removing the old thermostat and securing the new baseplate.
Wire strippers are crucial for preparing the thermostat wires, ensuring clean connections at the terminal blocks. A small, flathead screwdriver may be needed for tightening terminal screws. A level is vital for mounting the thermostat base straight, guaranteeing accurate temperature readings.
Additionally, a voltage tester is highly recommended to confirm power is off before handling any wiring. Depending on your existing wiring setup, you might also require pliers for manipulating wires. Finally, having a digital camera or smartphone handy to document the existing wiring configuration before disconnection is a best practice, as outlined in the manual.
Safety Precautions
Prioritizing safety during the TH8320R1003 installation, as emphasized in the TH8320R1003 installation manual PDF, is paramount. Always disconnect power to your heating and cooling system at the breaker box before commencing any wiring work. Confirm the power is off with a voltage tester.
Exercise caution when handling wiring; even low-voltage wires can pose a shock hazard. If you are uncomfortable working with electrical wiring, consult a qualified HVAC professional. Avoid touching bare wires or terminals.
Be mindful of the thermostat location; avoid areas exposed to direct sunlight, drafts, or moisture. Properly dispose of the old thermostat and packaging materials. Never attempt to modify or repair the thermostat internally; this will void the warranty and could create a safety hazard. Refer to the manual for complete safety guidelines.
System Compatibility Verification
Ensuring compatibility before installing the TH8320R1003 is crucial for optimal performance, as detailed in the TH8320R1003 installation manual PDF. This thermostat supports conventional heating and cooling systems, including gas, oil, and electric. However, it’s vital to verify your system’s voltage and wiring configuration.
Confirm your system doesn’t require a proprietary communication protocol incompatible with the VisionPRO 8000. The manual outlines specific system requirements and limitations. Check if your existing wiring matches the terminal designations described in the documentation.
If you have a heat pump system, verify the appropriate heat pump configuration settings within the thermostat’s menu. For complex systems or if unsure, consulting a professional HVAC technician is highly recommended to avoid compatibility issues and ensure a successful installation.
Installation Process
Follow the detailed steps in the TH8320R1003 installation manual PDF for safe and effective installation, including removing the old thermostat and wiring the new one.
Step 1: Removing the Old Thermostat
Before beginning, ensure power is completely off to your HVAC system at the breaker box. This is a crucial safety precaution detailed in the TH8320R1003 installation manual PDF. Carefully remove the cover of your existing thermostat to expose the wiring terminals.
Take a clear photograph of the existing wiring configuration – this will be an invaluable reference during the installation of your new Honeywell VisionPRO 8000. Label each wire with the corresponding terminal designation as you disconnect them.
Gently pull each wire free from the terminals. Avoid forcing them, as this could damage the wires or the thermostat base. Once all wires are disconnected, carefully remove the old thermostat base from the wall.
Inspect the wall for any damage and make necessary repairs before proceeding to mount the new thermostat base. Refer to the manual for specific guidance on wall preparation.
Step 2: Wiring the TH8320R1003 – Terminal Designations
Consult the TH8320R1003 installation manual PDF for the precise terminal designations. The VisionPRO 8000 utilizes specific terminals for conventional systems, including ‘C’ for Common, ‘R’ for 24VAC power, and terminals for heating (W) and cooling (Y) stages.
Carefully connect each wire to the corresponding terminal on the TH8320R1003 base, referencing the photograph taken during the removal of your old thermostat. Ensure each wire is securely fastened to prevent loose connections.
Pay close attention to multi-stage systems, as they require connections for multiple heating (W1, W2) and cooling (Y1, Y2) stages. Incorrect wiring can lead to improper system operation.
Double-check all connections against the wiring diagram in the manual before proceeding. A secure and accurate wiring configuration is essential for optimal performance and safety.
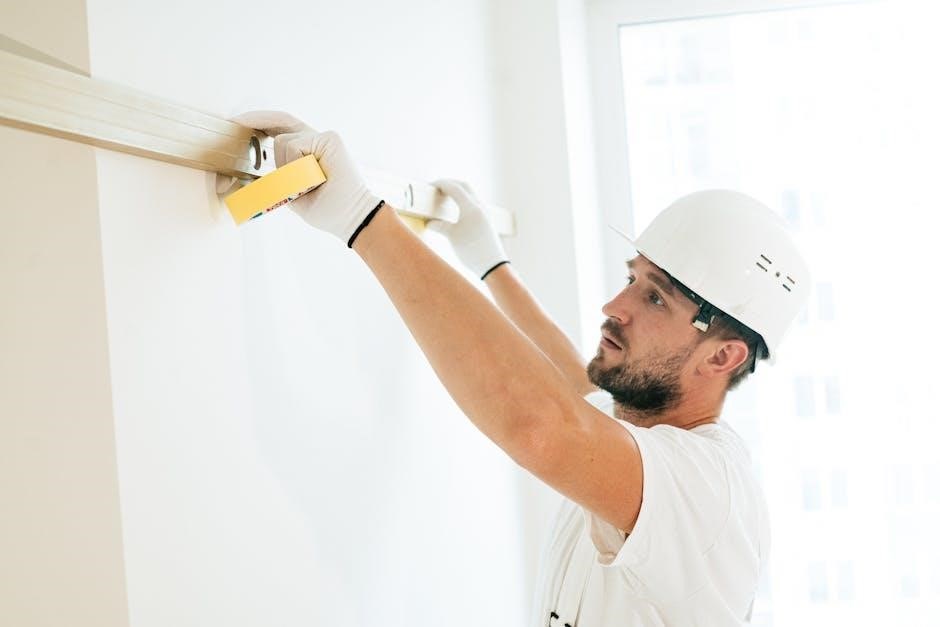
Step 3: Mounting the Thermostat Base
Refer to the TH8320R1003 installation manual PDF for detailed mounting instructions. Once the wiring is complete and verified, carefully position the thermostat base on the wall where the old thermostat was located.
Use the provided screws and wall anchors to securely attach the base to the wall. Ensure the base is level for proper display and operation. If necessary, use a level to confirm alignment before tightening the screws.
Gently push any excess wire back into the wall opening, avoiding any pinching or strain on the connections. A neat and organized wiring arrangement is crucial for long-term reliability.
Finally, snap the thermostat body onto the mounted base. Verify a secure connection and that the display is functioning correctly before proceeding to the post-installation configuration steps.
Post-Installation Configuration
Consult the TH8320R1003 installation manual PDF for guidance on linking RedLINK accessories, setting installer options, and initial system testing procedures.
Linking the Thermostat with RedLINK Accessories
The Honeywell TH8320R1003 leverages RedLINK wireless technology for seamless integration with compatible accessories. Refer to the TH8320R1003 installation manual PDF for detailed, step-by-step instructions on establishing this connection. The manual outlines the process of putting the thermostat into linking mode, ensuring it’s discoverable by RedLINK devices.
Successful linking requires proximity between the thermostat and the accessory during the initial setup. The manual specifies the maximum recommended distance for reliable communication. It also details troubleshooting steps if the linking process fails, such as checking battery levels in wireless sensors or verifying RedLINK compatibility.
Proper linking unlocks advanced features like remote sensors and zoning control, enhancing the overall comfort and efficiency of your home’s HVAC system. The PDF manual provides diagrams illustrating the linking process and clarifies potential error messages.
Setting Installer Options
The Honeywell TH8320R1003 offers customizable installer options, accessible through the thermostat’s interface. The TH8320R1003 installation manual PDF provides a comprehensive guide to navigating these settings, allowing for tailored system configuration. These options include configuring the system type (heat pump, conventional, etc.), cycle rates, and temperature differentials.
Adjusting installer options correctly is crucial for optimal system performance and accurate temperature control. The manual details each setting’s function and recommended values for various HVAC setups. Incorrect settings can lead to inefficient operation or discomfort.
Password protection is available for installer options, preventing unauthorized changes. The PDF manual explains how to set and manage this password, ensuring system security. Careful review of the manual is recommended before modifying any installer settings.
Initial System Testing and Troubleshooting
After installation, thorough system testing is essential to verify proper operation of the Honeywell TH8320R1003. The TH8320R1003 installation manual PDF outlines a series of tests for heating, cooling, and fan functions. These tests confirm correct wiring and configuration.
Common issues and troubleshooting steps are detailed within the manual. These include addressing unresponsive displays, incorrect temperature readings, or problems with RedLINK wireless communication. The manual provides diagnostic codes and suggested solutions for various error scenarios.
If issues persist, the manual directs users to Honeywell’s support resources. This includes online FAQs, troubleshooting guides, and contact information for professional assistance. A systematic approach, guided by the manual, will efficiently resolve most installation-related problems.
Resources and Support
Access the complete TH8320R1003 installation manual PDF online for detailed guidance. Alternatively, find a certified Honeywell installer for professional assistance.
Downloading the TH8320R1003 PDF Manual

Obtaining the official Honeywell TH8320R1003 installation manual in PDF format is crucial for a successful and safe installation process. This comprehensive document provides detailed diagrams, wiring schematics, and step-by-step instructions specifically tailored to the VisionPRO 8000 thermostat with RedLINK technology.

You can readily download the TH8320R1003 PDF manual from the Honeywell Home website or through various online resources dedicated to HVAC documentation. The manual outlines essential information, including thermostat terminal designations (like the ‘C’ Common wire), RedLINK wireless pairing procedures, and troubleshooting tips.
Carefully reviewing the manual before beginning the installation is highly recommended. It ensures you understand the system requirements, safety precautions, and proper wiring configurations. Ignoring the instructions could potentially void your product warranty or lead to improper system operation. A readily available PDF copy allows for convenient access during the entire installation process.
Finding a Professional Installer
While the Honeywell TH8320R1003 installation manual PDF provides detailed guidance, some homeowners may prefer professional assistance for installation. Incorrect wiring or configuration can lead to system malfunctions or safety hazards, making a qualified technician invaluable.

Honeywell Home offers a “Find a Pro” tool on their website, allowing you to locate certified installers in your area. These professionals are experienced with the VisionPRO 8000 thermostat and RedLINK technology, ensuring a correct and efficient installation. Professional installation also safeguards your product warranty, as improper installation can void coverage.
Consider seeking a professional if you are uncomfortable working with electrical wiring or lack experience with HVAC systems. A skilled installer will accurately interpret the TH8320R1003 installation manual PDF, ensuring optimal performance and long-term reliability. They can also assist with linking the thermostat to RedLINK accessories and configuring installer options.