hansgrohe bathroom faucet repair manual
Hansgrohe Bathroom Faucet Repair Manual: A Comprehensive Guide
Hansgrohe faucets, celebrated for quality, sometimes need attention. This detailed guide offers step-by-step instructions for repair, ensuring lasting performance and enjoyment.
Understanding Hansgrohe Faucet Components
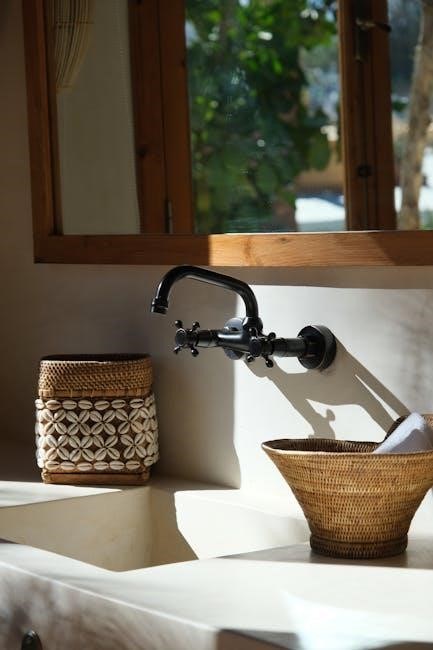
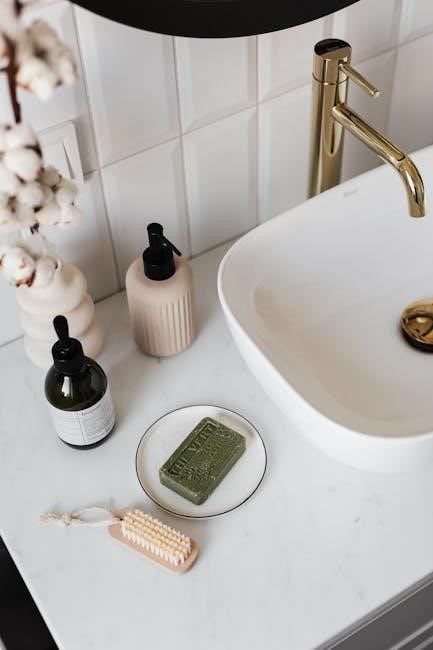
Hansgrohe faucets utilize precision-engineered parts for reliable operation. Key components include the cartridge, controlling water flow and temperature, and O-rings and seals, preventing leaks. The aerator mixes air into the water stream, reducing consumption. Supply lines deliver water to the faucet, while the diverter valve directs water between spout and showerhead.
Hoses connect various parts, and handles control operation. Understanding these components is crucial for effective repair. Hansgrohe employs durable materials like brass and stainless steel. Familiarize yourself with your faucet’s specific parts using the installation manual for accurate identification before attempting any maintenance or replacement.
Identifying Common Faucet Problems
Common Hansgrohe faucet issues include leaks, often stemming from worn O-rings or seals. Low water pressure can result from a clogged aerator or restricted supply lines. Stiff or difficult-to-turn handles may indicate internal component wear. Diverter valve malfunctions can prevent proper water flow switching.
Dripping faucets waste water and increase bills. Identifying the source of the problem is the first step towards repair. Look for visible leaks around the base, spout, or handles. Reduced flow suggests blockages. Consult the Hansgrohe manual for troubleshooting specific models and symptoms before attempting any fixes.
Tools Required for Hansgrohe Faucet Repair
Successfully repairing your Hansgrohe faucet requires a few essential tools. A set of adjustable wrenches is crucial for loosening and tightening nuts and connections. Screwdrivers (Phillips and flathead) are needed for handle and component removal. Pliers assist with gripping and manipulating small parts.
A basin wrench is invaluable for accessing hard-to-reach faucet connections under the sink. O-ring picks help remove old seals. Cartridge pullers are specific to cartridge replacement. Don’t forget plumber’s grease for lubricating parts and preventing future corrosion. Safety glasses and gloves are recommended for protection.
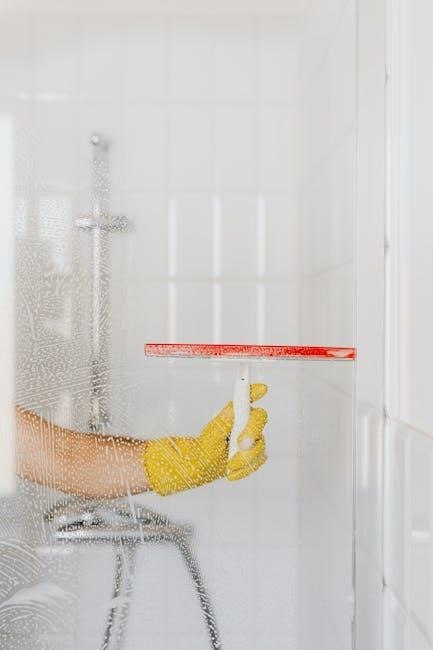
Repairing Leaky Faucets
Leaks are common, but often easily fixed! This section details diagnosing and resolving Hansgrohe faucet leaks, restoring water efficiency and preventing damage.
Diagnosing the Source of the Leak
Pinpointing the leak’s origin is crucial before any repair attempt. Begin by carefully observing where the water emerges. Is it dripping from the spout, around the handle base, or underneath the sink at connection points? A spout drip often indicates worn-out O-rings or a faulty cartridge.
Leaks around the handle frequently suggest loose screws or deteriorated internal components. Under-sink leaks commonly stem from loose supply line connections or damaged hoses.
Turn off the water supply before detailed inspection. Dry all areas thoroughly to accurately trace the water’s path. Consider the faucet’s recent usage; a leak appearing only during operation points to internal parts, while constant dripping suggests a persistent issue needing immediate attention. Careful observation will save time and ensure the correct repair;
Replacing O-Rings and Seals
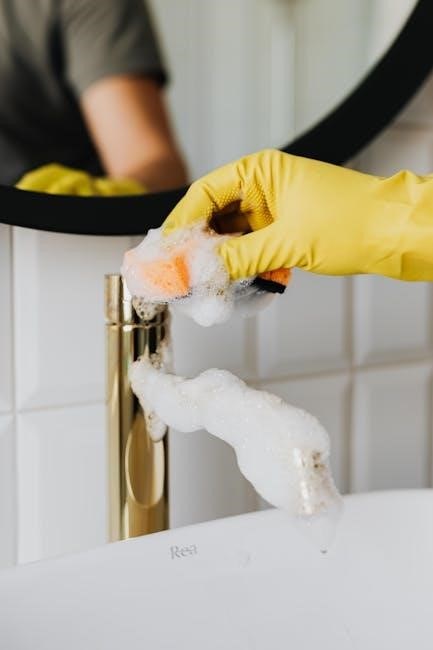
O-rings and seals are frequent culprits in Hansgrohe faucet leaks. Begin by shutting off the water supply and disassembling the faucet, carefully noting component order. Locate the worn O-rings – typically within the spout, handle, or cartridge assembly.
Remove the old O-rings using a small pick or screwdriver, being careful not to scratch the surrounding surfaces. Clean the grooves thoroughly before installing new, appropriately sized O-rings. A light coating of silicone grease facilitates installation and ensures a watertight seal.
Reassemble the faucet, ensuring all parts are correctly positioned. Turn the water supply back on slowly and check for leaks. If leaks persist, double-check the O-ring installation and component alignment.
Cartridge Replacement – A Step-by-Step Guide
Cartridge replacement often resolves issues like dripping or difficulty controlling water temperature. First, shut off the water supply and disassemble the faucet handle. Remove the retaining clip securing the cartridge – a small tool may be needed. Gently pull the old cartridge straight up and out.
Before installing the new cartridge, inspect the faucet body for debris and clean it thoroughly. Align the new cartridge correctly, ensuring proper orientation. Push it firmly into place until it seats fully, then reinsert the retaining clip.
Reassemble the handle and slowly turn the water supply back on, checking for leaks and proper temperature control.
Addressing Low Water Pressure Issues
Low water pressure can stem from blockages or restrictions. This section details how to diagnose and resolve these issues, restoring optimal flow to your Hansgrohe faucet.
Checking the Aerator for Blockages
Hansgrohe faucets feature aerators to provide a consistent, non-splashing stream. However, mineral deposits and debris can accumulate, reducing water pressure. Begin by unscrewing the aerator housing – typically by hand, though pliers may be needed (use a cloth to prevent scratches!).
Carefully disassemble the aerator components: the outer housing, flow restrictor, mesh screen, and rubber washer. Inspect each part for visible buildup. Soak the components in white vinegar for at least 30 minutes to dissolve mineral deposits. Use a small brush, like an old toothbrush, to gently scrub away any remaining residue.
Rinse thoroughly with clean water and reassemble the aerator in the correct order. Reattach the aerator to the faucet and test the water flow. If pressure remains low, the blockage may lie elsewhere in the system.
Inspecting and Cleaning Supply Lines
Reduced water pressure can often be traced to obstructed supply lines. First, shut off the water supply to the faucet. Place a bucket underneath the connections to catch any residual water. Carefully inspect the supply lines – flexible hoses connecting the faucet to the shut-off valves – for kinks, bends, or visible corrosion.
Disconnect the supply lines from both the faucet and the shut-off valves. Examine the line interiors for sediment buildup. You can flush the lines with water to dislodge debris, or use a small brush to manually clean them. Check the rubber washers within the connectors for wear and tear; replace them if necessary.
Ensure the connections are clean and free of debris before reattaching the supply lines, tightening securely but avoiding over-tightening. Restore the water supply and check for leaks.
Replacing the Flow Restrictor
If low water pressure persists after cleaning the aerator and supply lines, the flow restrictor may be the culprit. First, shut off the water supply. Locate the flow restrictor – typically found within the faucet spout or at the base of the cartridge. Unscrew the spout or disassemble the faucet body to access it, consulting your faucet’s specific installation manual for guidance.
Once located, carefully remove the old flow restrictor using pliers or a small wrench. Note its orientation for correct reinstallation. Install the new flow restrictor, ensuring it’s securely seated. Reassemble the faucet, tightening all connections.
Restore the water supply and test the water flow. Replacing the restrictor can significantly improve water pressure, but be aware that removing it entirely may not be compliant with local regulations.
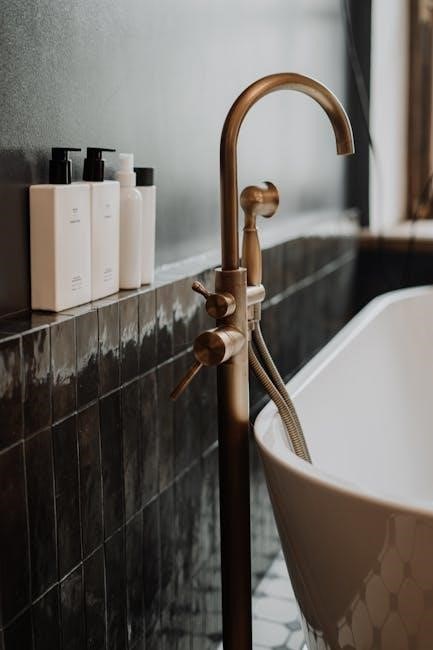
Hansgrohe Faucet Hose Replacement

Hansgrohe faucet hoses are replaceable on lavatory, bidet, and kitchen models. Proper disconnection, secure connection of new hoses, and leak checks are crucial.
Disconnecting Old Hoses
Before beginning, shut off the water supply to the faucet. Place a bucket and towels underneath to catch any residual water. Using an adjustable wrench, carefully loosen the connection nuts securing the old hoses to both the faucet tailpieces and the water supply valves.
Be gentle; avoid damaging the faucet or valve threads. Once loosened, carefully unscrew the nuts by hand. If the hoses are stubborn, a penetrating oil lubricant can assist. Inspect the hose connections for any corrosion or mineral buildup, cleaning as needed;
Remember to note the hose orientation for correct re-installation. Once detached, inspect the old hoses for signs of wear, kinks, or damage. Discard the old hoses responsibly.
Connecting New Hoses – Ensuring a Secure Fit
Begin by carefully aligning the new hoses with the faucet tailpieces and water supply valves, mirroring the original orientation. Hand-tighten the connection nuts onto the threads, ensuring they are properly seated.
Using an adjustable wrench, gently tighten the nuts further, but avoid over-tightening, which can damage the threads or the hoses. A snug fit is crucial for preventing leaks. Check for proper alignment and ensure the hoses aren’t kinked or twisted.
Apply Teflon tape to the threads if needed, for an extra layer of sealing. Double-check all connections for tightness and proper seating before restoring the water supply.
Checking for Leaks After Hose Replacement
Slowly restore the water supply to the faucet, carefully observing all hose connections for any signs of leakage. Begin with a low flow and gradually increase the water pressure. Inspect the connections at both the faucet and the supply valve ends.
Run both hot and cold water, checking for drips or sprays around the nuts and hose fittings. If leaks are detected, immediately shut off the water supply and re-tighten the connections. Ensure the nuts are snug, but avoid excessive force.
Repeat the process of turning on the water and inspecting for leaks until a completely secure, leak-free connection is achieved.
Fixing Diverter Valve Problems
Diverter valve issues disrupt water flow. This section details identifying faulty valves and provides clear, concise instructions for effective replacement and testing.
Identifying a Faulty Diverter Valve
Diagnosing a malfunctioning diverter valve is crucial for restoring proper faucet function. Several telltale signs indicate a problem. Observe if the water flow doesn’t switch correctly between spout and showerhead, or if it drips continuously from the spout even when turned off.
Reduced water pressure when the diverter is in a specific position is another key indicator. Carefully inspect the valve for visible cracks or damage. A stiff or difficult-to-operate diverter handle also suggests internal wear or blockage.
Attempt to gently manipulate the handle; excessive resistance or a grinding sensation confirms a potential issue. Remember to turn off the water supply before further investigation or attempting any repairs to prevent water damage.
Diverter Valve Replacement Instructions
Begin by shutting off the water supply to the faucet. Carefully disassemble the faucet handle and trim to access the diverter valve. Note the valve’s orientation before removal for correct reinstallation.
Remove the retaining clip or nut securing the diverter valve. Gently pull out the old valve, inspecting the housing for debris or corrosion. Clean the housing thoroughly before inserting the new diverter valve, ensuring proper alignment.

Secure the new valve with the retaining clip or nut. Reassemble the faucet handle and trim, testing the diverter function. Check for leaks and adjust as needed. Refer to the Hansgrohe installation manual for specific model instructions.
Testing the Diverter Valve Functionality
After replacing the diverter valve, slowly restore the water supply. Observe carefully for any leaks around the valve housing and handle base. Cycle the diverter through its full range of motion – from tub spout to showerhead, and back again.
Verify smooth and complete switching between functions. Check water flow from both outlets, ensuring adequate pressure. Listen for any unusual noises, like clicking or grinding, which could indicate improper installation.
If leaks persist or the diverter doesn’t function correctly, re-examine the installation. Consult the Hansgrohe manual for troubleshooting tips or contact their service center for assistance.
Troubleshooting Hansgrohe Faucet Handles
Handle issues often stem from loose screws or worn components. Addressing these problems restores smooth operation and prevents further damage to your Hansgrohe faucet.
Tightening Loose Handle Screws
Loose handle screws are a frequent cause of wobbly or difficult-to-operate Hansgrohe faucet handles. Begin by identifying the screw securing the handle – it’s often concealed beneath a decorative cap. Gently pry off the cap using a small, flathead screwdriver, being careful not to scratch the faucet finish.
Once exposed, use an appropriately sized Allen wrench or screwdriver to tighten the screw. Avoid over-tightening, as this could strip the screw or damage the internal components. Test the handle’s movement after each slight adjustment. If the screw spins freely without tightening, it may be stripped, requiring replacement.
Important Note: Before attempting any repair, shut off the water supply to the faucet to prevent accidental leaks. A small amount of lubricant on the screw threads can facilitate smoother operation.
Replacing Worn Handle Components
Worn handle components, like the handle itself or the underlying lever, can cause operational issues. First, shut off the water supply. Remove the handle screw (often hidden under a cap – gently pry it off). Once the screw is out, carefully pull the handle straight up and off the faucet body.
Inspect the handle and lever for cracks, breaks, or excessive wear. Obtain a direct replacement part from Hansgrohe or a reputable plumbing supplier, ensuring compatibility with your faucet model. Install the new component by aligning it correctly and pressing it firmly onto the faucet stem.
Re-secure with the screw and cap. Test the handle’s operation, verifying smooth movement and proper water control. Caution: Forceful removal can damage the faucet; gentle wiggling may be necessary.
Addressing Stiff or Difficult-to-Turn Handles
Stiff faucet handles often indicate mineral buildup or worn internal parts. Begin by attempting to loosen the handle with gentle, consistent pressure – avoid forcing it. If this fails, carefully disassemble the handle assembly, following the steps for replacing worn components. Inspect the valve cartridge for corrosion or calcium deposits.
Apply a plumber-approved lubricant (silicone-based is best) to the cartridge and handle stem. Reassemble the handle, ensuring proper alignment. If stiffness persists, the cartridge likely needs replacement. Hansgrohe’s Aquademie offers helpful videos demonstrating cartridge removal and installation.
Regular cleaning and lubrication can prevent this issue. Caution: Avoid abrasive cleaners, as they can damage the faucet’s finish.
Hansgrohe Aquademie & Service Resources
Hansgrohe provides extensive online support, including installation manuals and troubleshooting videos. Locate authorized service centers via their website for expert help and instructions.
Utilizing Hansgrohe’s Online Support
Hansgrohe’s digital platform is a valuable first step for any repair endeavor. The official website hosts a comprehensive library of installation manuals, readily downloadable for numerous faucet models. Beyond static documentation, Hansgrohe offers “Tech Tips” – a series of informative videos demonstrating common fixes, like M2 cartridge replacements.
These videos provide clear, visual instructions, simplifying complex procedures. Furthermore, the Aquademie USA section allows virtual exploration of their products and potential solutions. Directly accessing their support resources can often resolve issues quickly, avoiding the need for a professional service call. Don’t hesitate to leverage these freely available tools before proceeding with more involved repairs.
Finding Local Hansgrohe Service Centers
When online resources prove insufficient, locating an authorized Hansgrohe service center is crucial. The Hansgrohe website features a “Dealer Locator” tool, enabling you to pinpoint nearby professionals qualified to handle your faucet repair. These centers employ technicians specifically trained on Hansgrohe products, ensuring accurate diagnosis and effective solutions.
Professional service offers advantages like access to specialized tools and genuine replacement parts. They can address complex issues beyond the scope of DIY repair, such as intricate cartridge replacements or diverter valve problems. Contacting a local center provides personalized assistance and guarantees workmanship. Prioritize authorized centers to maintain your faucet’s warranty and longevity.
Accessing Hansgrohe Installation Manuals
Hansgrohe provides comprehensive installation manuals readily available online, a vital resource for both repair and understanding your faucet’s construction. These manuals, accessible through the official Hansgrohe website, contain detailed diagrams, parts lists, and step-by-step instructions; Locate your specific faucet model using the product number – often found on the faucet itself or original packaging;
Downloading the manual allows offline access during repair work. It clarifies proper disassembly and reassembly procedures, minimizing the risk of damage. Hansgrohe’s Aquademie USA also serves as a hub for resources. Referencing the manual before starting any repair ensures you have the correct knowledge and approach, potentially saving time and frustration.
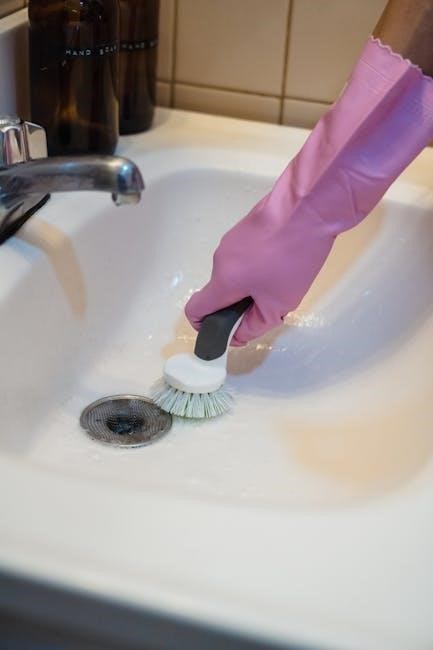
Preventative Maintenance for Hansgrohe Faucets
Regular cleaning and inspections extend faucet life. Protect against hard water damage with appropriate treatments, ensuring continued smooth operation and preventing future repairs.
Regular Cleaning Procedures
Maintaining your Hansgrohe faucet’s pristine condition requires consistent, gentle cleaning. Daily wiping with a soft, damp cloth removes water spots and soap scum, preventing buildup. Avoid abrasive cleaners, scouring pads, or harsh chemicals, as these can damage the finish.
For deeper cleaning, use a mild dish soap diluted in warm water. Rinse thoroughly and dry with a clean, soft towel. Pay attention to the aerator, unscrewing it periodically to remove any mineral deposits. A vinegar soak can effectively dissolve these deposits.
Regularly cleaning around the base of the faucet and handles prevents corrosion and ensures smooth operation. Consistent care extends the life of your Hansgrohe faucet, minimizing the need for future repairs.
Recommended Inspection Schedule
Proactive inspection is key to preventing major Hansgrohe faucet issues. A monthly visual check for leaks around the base, handles, and spout is recommended. Examine hoses for cracks or bulges, and ensure connections remain tight.
Every three months, test the diverter valve (if applicable) for smooth operation. Check for reduced water flow, which could indicate a blockage in the aerator or supply lines. Annually, inspect O-rings and seals for wear and tear, replacing them as needed.
This schedule helps identify potential problems early, allowing for timely repair and preventing costly damage. Consistent monitoring extends the lifespan of your Hansgrohe faucet and maintains optimal performance.
Protecting Faucets from Hard Water Damage
Hard water, rich in minerals, can significantly impact Hansgrohe faucet longevity. Mineral buildup restricts water flow and damages internal components. Regularly wipe down the faucet exterior with a soft cloth to prevent visible scaling. Consider installing a water softener to reduce mineral content throughout your plumbing system.
Periodically clean the aerator – a common collection point for mineral deposits – by soaking it in vinegar. Flush supply lines to remove accumulated sediment. Using a protective wax coating on the faucet finish can also help resist water spots and corrosion.
Consistent preventative measures safeguard your Hansgrohe faucet, ensuring lasting beauty and functionality despite challenging water conditions.