freestyle lite user guide
The FreeStyle Lite system offers virtually pain-free testing with no coding required, utilizing Lite Test Strips for accurate results.
This guide provides comprehensive instructions, ensuring users understand the system’s features and intended use for effective blood glucose monitoring.
What is the FreeStyle Lite?
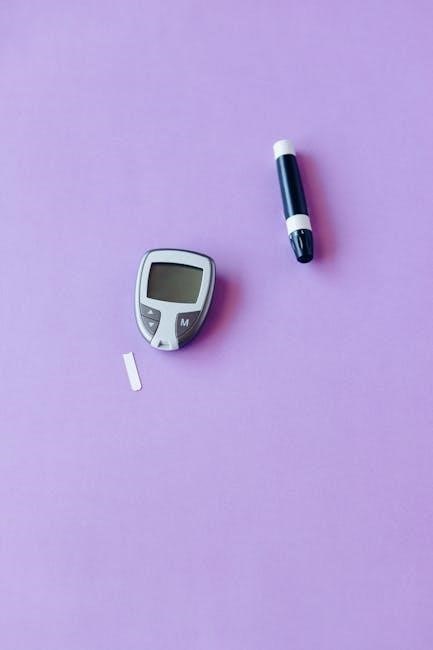
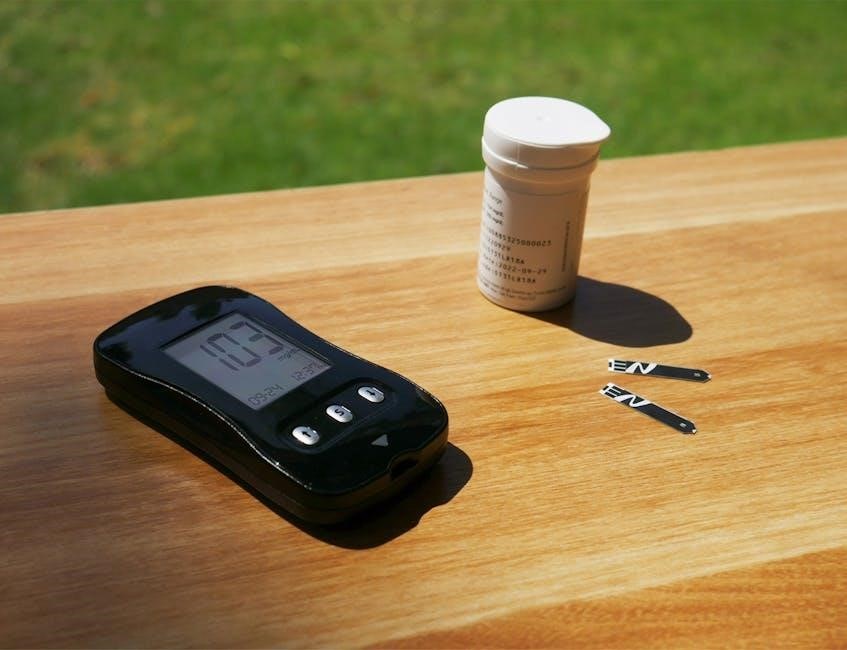
The FreeStyle Lite is a compact and user-friendly blood glucose monitoring system designed for individuals managing diabetes. This system provides accurate and reliable blood glucose readings, empowering users to make informed decisions about their health.
It features no-coding technology, simplifying the testing process and minimizing potential errors. The system utilizes FreeStyle Lite test strips, designed for minimal blood sample size and quick results.
Its portability and ease of use make it an ideal companion for daily diabetes management, promoting a proactive approach to wellness.
Key Features of the FreeStyle Lite
The FreeStyle Lite boasts several key features enhancing user experience and accuracy. Notably, it offers no-coding technology, eliminating the need for manual calibration and reducing potential errors.
The system requires a small blood sample, minimizing discomfort during testing. Its compact design ensures portability, allowing for convenient monitoring on-the-go.
Furthermore, the meter displays clear and concise results, and features memory recall to review past readings, aiding in effective diabetes management and tracking trends.
Intended Use of the System
The FreeStyle Lite blood glucose monitoring system is designed for self-testing by individuals with diabetes. It’s intended to measure blood glucose levels in whole blood samples obtained from the fingertip.
This system aids in managing diabetes by providing insights into how diet, exercise, and medication affect blood sugar levels.
It’s crucial to practice the testing procedure thoroughly before use, carefully reading all instructions in the user manual to ensure accurate and reliable results for informed healthcare decisions.
Setting Up Your FreeStyle Lite Meter
Proper setup involves checking components, inserting the battery correctly, and accurately setting the date and time for reliable operation and personalized tracking.
Unboxing and Component Check
Carefully unpack your FreeStyle Lite system and verify all components are present. You should find the FreeStyle Lite meter itself, a lancing device, a sample of FreeStyle Lite test strips, lancets, the owner’s booklet, and potentially a quick reference guide.
Inspect each item for any signs of damage. Ensure the meter’s display is clear and the battery compartment is secure. Confirm the test strip vial is sealed and the lancets are individually packaged.
If any components are missing or damaged, contact Abbott customer support immediately for assistance.
Inserting the Battery
Locate the battery compartment on the back of the FreeStyle Lite meter. Typically, it’s a sliding cover. Gently slide the cover open to access the battery slot.
Insert a new CR2032 battery, ensuring the positive (+) and negative (-) terminals align with the markings inside the compartment. Replace the battery compartment cover, sliding it closed until it clicks securely.
The meter should power on automatically. If it doesn’t, double-check the battery’s orientation and ensure the cover is fully closed.
Setting the Date and Time
To set the date and time, first ensure the meter is on. Access the settings menu by pressing and holding the button (refer to your meter’s specific button layout). Navigate to the date setting using the buttons, and adjust the month, day, and year.
Repeat this process for the time setting, adjusting the hour and minute. Confirm each setting by pressing the appropriate button. Accurate date and time are crucial for correct memory recall of past results.
Performing a Blood Glucose Test
Testing involves preparing the lancing device, selecting a test site, obtaining a blood sample, applying it to a test strip, and reading the result.
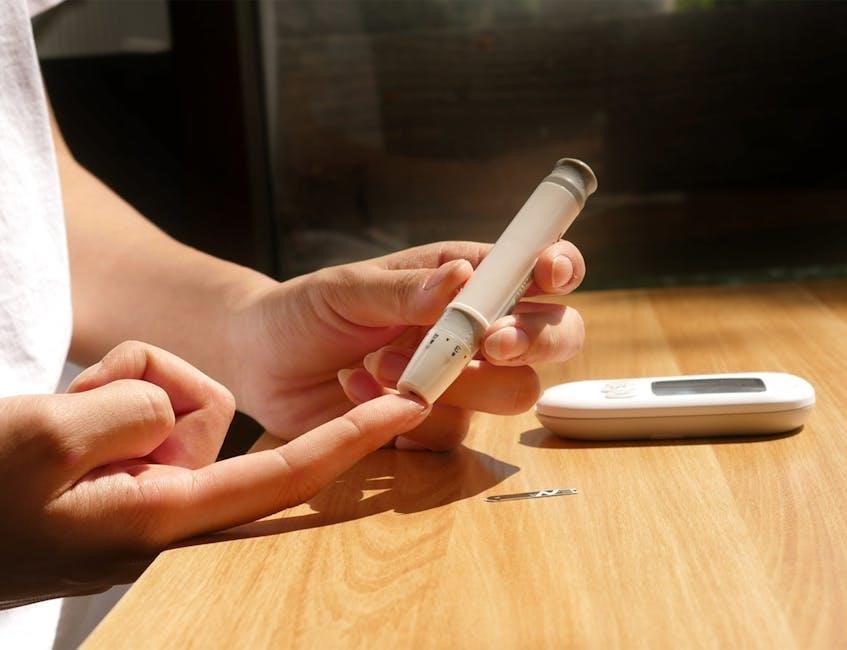
Preparing the Lancing Device
To prepare the lancing device, carefully follow the instructions provided in the separate Lancing Device insert. This includes loading a new, sterile lancet securely into the device. Adjust the lancing depth setting according to your skin type and preference, starting with a shallower setting if unsure.
Prime the device by pressing the release button to advance the lancet. Ensure you understand how to operate the device safely and effectively before obtaining a blood sample. Proper preparation minimizes discomfort and ensures an adequate sample.
Selecting a Test Site
When selecting a test site, consider using the sides of your fingertips, as they generally have fewer nerve endings, resulting in less discomfort. Avoid using the very tip or center of your finger. Rotate testing locations to prevent skin irritation and calluses.
There are differences in testing on fingers versus alternate sites; fingers typically provide faster results. Always clean the chosen site with soap and water before testing, and dry thoroughly.
Obtaining a Blood Sample
To obtain a blood sample, firmly press the lancing device against the chosen test site. Activate the device according to its instructions, ensuring a sufficient drop of blood forms. Avoid squeezing the finger excessively, as this can dilute the sample with tissue fluid, leading to inaccurate readings.
If the initial attempt doesn’t yield enough blood, gently massage the finger towards the puncture site, but avoid repeated squeezing.
Applying the Blood Sample to the Test Strip
Carefully bring the blood sample to the designated area on the FreeStyle Lite test strip. The strip will draw the blood in automatically – do not press the strip against your finger. Ensure the sample fills the sample port completely for an accurate reading.
Insufficient blood may result in an error message, requiring a repeat test with a new strip.
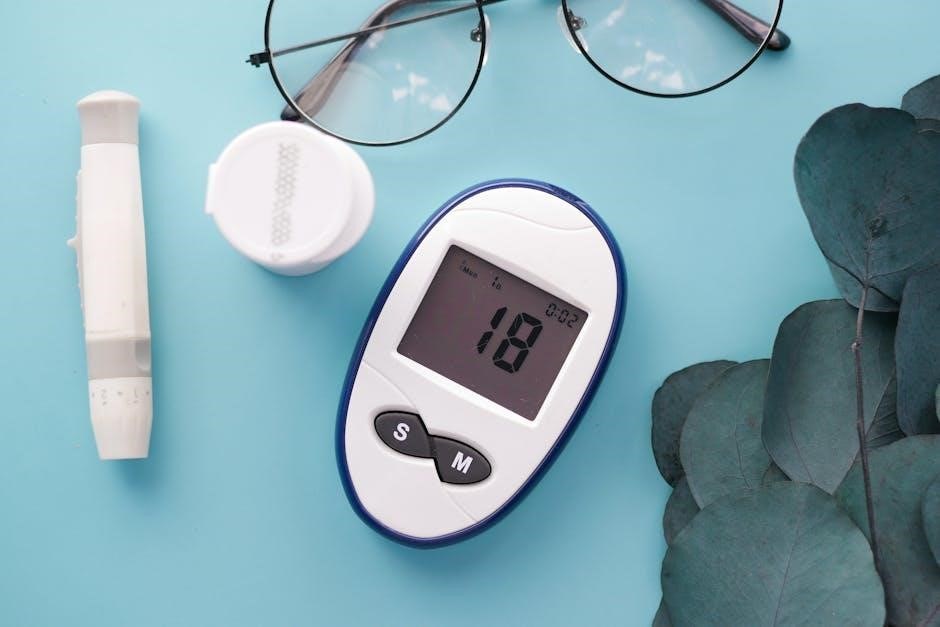
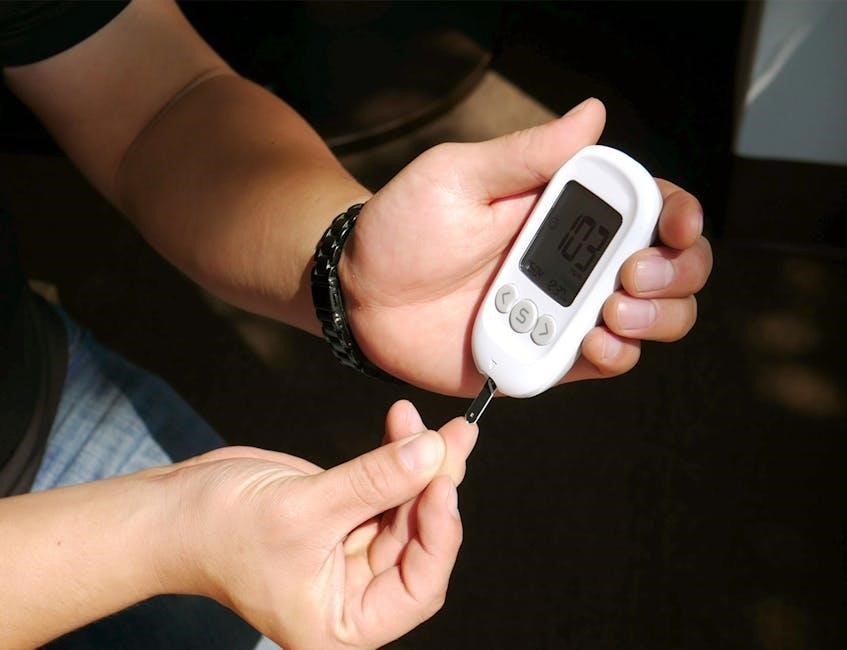
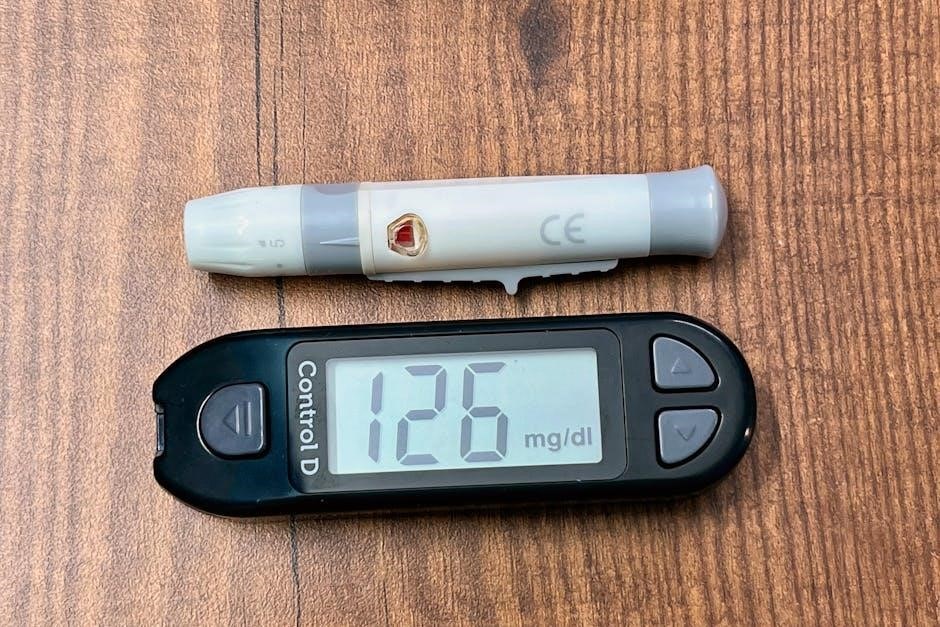
Reading Your Blood Glucose Result
Within seconds, your blood glucose result will appear clearly on the FreeStyle Lite meter’s display. The reading is presented in milligrams per deciliter (mg/dL). Note the value and compare it to your target range, as advised by your healthcare professional.
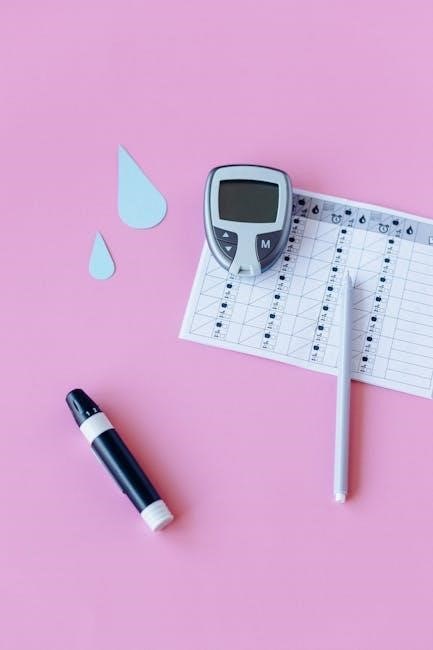
Remember to record your results for tracking and discussion with your doctor during follow-up appointments.
Understanding Your Meter Display
The FreeStyle Lite meter utilizes symbols to convey important information, including error messages. Familiarizing yourself with these indicators ensures accurate interpretation of results.
Meter Symbols and Their Meanings
Understanding the symbols displayed on your FreeStyle Lite meter is crucial for proper operation and accurate interpretation of your blood glucose readings. The meter screen presents various icons that communicate system status and potential issues.
For example, a flashing battery symbol indicates low battery power, requiring replacement. Error codes, displayed as “E-1” or similar, signal specific problems needing troubleshooting. Refer to the manual for a complete list and corresponding solutions. Recognizing these symbols empowers you to confidently manage your testing process and address any concerns promptly.
Error Messages and Troubleshooting
Encountering error messages on your FreeStyle Lite meter doesn’t necessarily indicate a serious problem. Common codes like “E-1” often relate to test strip issues – ensure proper insertion or check the expiration date. If the meter won’t turn on, verify the battery is correctly installed and has sufficient charge.
For persistent errors, consult the user manual’s troubleshooting section. If issues remain unresolved, contact Abbott customer support for assistance. Accurate troubleshooting ensures reliable readings and continued effective glucose monitoring.
Memory Recall – Reviewing Past Results
The FreeStyle Lite meter conveniently stores your blood glucose readings, allowing you to track trends over time. Accessing this memory is simple: navigate through the meter’s menu using the buttons to recall previous results. The system typically displays the date and time alongside each reading, providing a clear historical record.
Regularly reviewing past results helps identify patterns and informs adjustments to your diabetes management plan. This feature empowers you to proactively monitor your health and collaborate effectively with your healthcare provider.
FreeStyle Lite Test Strips
FreeStyle Lite test strips are designed for use with the meter, ensuring accurate results. Proper storage and attention to expiration dates are crucial for quality control.
Using FreeStyle Lite Test Strips
To utilize FreeStyle Lite test strips, gently insert one into the meter, ensuring the strip clicks into place. The meter automatically recognizes the strip, initiating the testing process; Avoid touching the reaction area of the strip, as this can affect accuracy. Apply the blood sample to the designated area on the strip, and hold it steadily until the meter displays your result.
Do not press the test strip against the test site; instead, present the sample to the strip. Always use a fresh, unexpired strip for each test to guarantee reliable readings.
Test Strip Storage
Proper test strip storage is crucial for maintaining accuracy. Store FreeStyle Lite test strips in their original vial, tightly closed, in a cool, dry place. Avoid direct sunlight and extreme temperatures. Do not refrigerate or freeze the strips, as this can damage them.
Keep the vial away from moisture and humidity. Always check the expiration date before use; expired strips may yield inaccurate results. Discard any damaged or expired strips responsibly.
Expiration Dates and Quality Control
Always check the expiration date printed on the FreeStyle Lite test strip vial before each use. Using expired strips can lead to inaccurate blood glucose readings, potentially impacting treatment decisions.
For quality control, consider performing control solution tests regularly, especially when opening a new vial of test strips or if you suspect the strips may be compromised. This verifies the system is working correctly and provides confidence in your results.

Lancing Device Operation
Adjust the lancing depth to suit your skin type and testing site. Regularly change the lancet for optimal comfort and to maintain sterility during blood sampling.
Adjusting Lancing Depth
Proper lancing depth is crucial for a comfortable and effective blood sample. The FreeStyle Lite lancing device allows you to customize the penetration depth based on your skin type and the chosen test site. Start with a lower setting and gradually increase it until you obtain an adequate blood drop with minimal discomfort.
Thinner skin, like on the fingertips, requires a shallower setting, while thicker skin on the palm may need a deeper setting. Refer to your lancing device’s insert for a detailed guide on adjusting the depth settings and finding the optimal level for your needs.
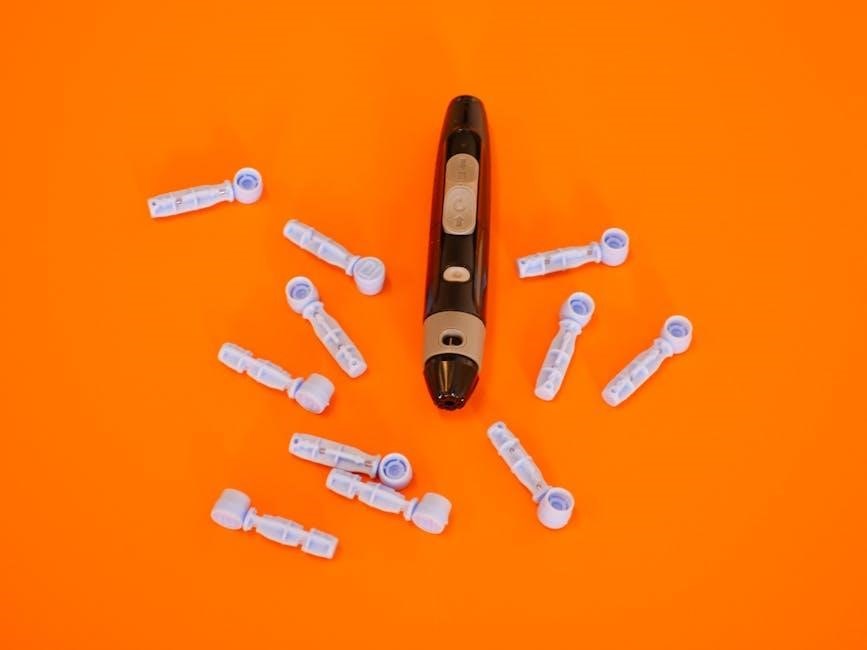
Changing the Lancet
Regular lancet replacement is essential for both hygiene and maintaining optimal performance of your lancing device. Never reuse lancets, as this can cause infection and discomfort. To change the lancet, twist off the protective cap of a new lancet and firmly insert it into the lancing device.
Then, twist off the used lancet and safely dispose of it in a sharps container. Always use a new, sterile lancet for each test to ensure accurate results and minimize the risk of infection.
Safety Precautions with the Lancing Device
Always handle the lancing device with care, treating it as a sharp medical instrument. Never attempt to force the device or disassemble it beyond the instructions provided. Keep the device out of reach of children.
Dispose of used lancets immediately in a designated sharps container to prevent accidental needle sticks and potential infection. Avoid sharing your lancing device with others to maintain hygiene and prevent cross-contamination.
Control Solution Testing
Control solution testing verifies the meter and test strips are working correctly, ensuring accurate results. Perform tests when opening a new vial or if results seem questionable.
Why Use Control Solution?
Using control solution is crucial for confirming your FreeStyle Lite system functions accurately. It verifies the interaction between the meter and test strips, ensuring reliable blood glucose readings. Perform control solution tests whenever you open a new vial of test strips, or if you suspect your meter is malfunctioning.
Additionally, testing is recommended after dropping the meter, or if obtaining consistently unusual results. This proactive step provides peace of mind and supports confident self-monitoring, contributing to effective diabetes management.
Performing a Control Solution Test
To perform a control solution test, first, insert a test strip into your FreeStyle Lite meter. Then, apply one drop of control solution to the designated area of the test strip – do not use a blood sample. The meter will display a result; compare this to the control solution range printed on the vial.
Ensure the result falls within the acceptable range. If not, repeat the test or contact customer support. Proper execution confirms the system’s accuracy before relying on blood glucose readings.
Interpreting Control Solution Results
Interpreting control solution results is crucial for ensuring accurate meter function. If the displayed value falls within the range printed on the control solution vial, your meter and test strips are working correctly. However, if the result is outside the acceptable range, repeat the test.
Persistent out-of-range results indicate a potential issue; contact customer support for assistance; Do not use the meter for blood glucose testing until the control solution test passes.
Maintaining Your FreeStyle Lite System
Regular cleaning with a damp cloth ensures optimal performance. Store the system in a cool, dry place, and properly dispose of used strips and lancets.
Cleaning the Meter
To maintain accuracy and hygiene, regularly clean your FreeStyle Lite meter. Begin by disconnecting the meter from any power source. Gently wipe the exterior of the meter with a lightly dampened cloth – avoid using harsh chemicals or abrasive cleaners.
Ensure no liquid enters the meter’s ports. Pay particular attention to the test strip port, removing any potential debris.
Allow the meter to completely dry before re-inserting batteries or performing tests. Consistent cleaning contributes to reliable blood glucose readings and extends the lifespan of your device.
Proper Storage of the System
For optimal performance and longevity, store your FreeStyle Lite system correctly. Keep the meter, lancing device, and test strips in a cool, dry place, away from direct sunlight and extreme temperatures.
Avoid storing the system in humid environments like bathrooms.
Ensure the lancing device is stored safely, out of reach of children. Proper storage preserves the integrity of the components, guaranteeing accurate results when you need them. Always refer to the test strip packaging for specific storage guidelines.
Disposal of Used Test Strips and Lancets
Used test strips and lancets are considered biohazardous materials and require careful disposal. Do not discard them in regular household trash.
Follow all local, state, and federal regulations for proper disposal of sharps and medical waste.
Place used lancets in an FDA-approved sharps container for safe containment. Dispose of used test strips according to your healthcare provider’s instructions. Responsible disposal protects both you and your community.
Troubleshooting Common Issues
Common issues include the meter not turning on, inaccurate readings, or persistent error messages. Refer to the manual for specific solutions and guidance.
Meter Not Turning On
If your FreeStyle Lite meter fails to power on, first ensure the battery is correctly inserted with the proper polarity. A depleted battery is a frequent cause; replace it with a fresh, compatible battery.
Confirm the battery compartment is securely closed. If the issue persists, try resetting the meter by removing and reinserting the battery.
Inspect the battery contacts for any signs of corrosion or debris, cleaning them gently if necessary. If these steps don’t resolve the problem, consult the full user manual or contact Abbott customer support for further assistance.
Inaccurate Readings
If you suspect inaccurate blood glucose readings with your FreeStyle Lite, several factors could be at play. Ensure you’re using genuine FreeStyle Lite test strips and that they haven’t expired.
Verify proper testing technique, including sufficient blood sample application and avoiding excessive pressure.
Temperature extremes can affect results; operate within the specified range. Perform a control solution test to confirm meter and strip functionality. If inaccuracies continue, consult your healthcare provider.
Error Messages Persisting
Persistent error messages on your FreeStyle Lite meter indicate a potential system malfunction. First, try turning the meter off and on again. If the error remains, replace the battery with a fresh one.
Ensure the test strip is properly inserted and not damaged.
If the issue continues, avoid using the meter and contact Abbott customer support for assistance. Do not attempt self-repair, as this could compromise accuracy and safety.
Safety Information
Always read the user manual before testing. Handle used test strips and lancets as biohazardous materials, disposing of them properly and safely.
Precautions Before Testing
Before initiating a blood glucose test with the FreeStyle Lite system, carefully review all instructions within the user manual. Practice the testing procedure to ensure familiarity and confidence. Wash your hands thoroughly with soap and warm water, then dry them completely.
Ensure the meter, test strips, and lancing device are functioning correctly. Avoid using damaged or expired components. Be mindful of potential infection risks; never share your lancing device with others. Always prioritize safety and follow recommended guidelines for accurate and reliable results.
Handling Biohazardous Materials
Used test strips and lancets are considered biohazardous materials due to potential blood contamination. Handle these items with extreme caution to prevent accidental needlesticks or exposure. Dispose of them immediately in a designated sharps container, following local regulations for biohazardous waste disposal.
Never recap a used lancet, as this increases the risk of injury. If exposed to blood, wash the area thoroughly with soap and water and seek medical attention if necessary. Prioritize safety and responsible disposal practices.
Important Warnings
Always read all instructions in the user manual before using the FreeStyle Lite system and practice the testing procedure. This system is for in-vitro diagnostic use only. Do not share your testing system with others due to infection risk.
Incorrect operation, maintenance, or calibration can lead to inaccurate results. Consult a healthcare professional for interpretation of results and treatment decisions. Keep the system out of reach of children.
Frequently Asked Questions (FAQ)
Using other test strips is not recommended, as it may produce inaccurate results. Calibration frequency depends on individual needs; consult your healthcare provider.
Can I use test strips from other brands?
It is strongly discouraged to use test strips from brands other than FreeStyle Lite with your meter. The FreeStyle Lite system is specifically designed and calibrated to work optimally with its own designated test strips.
Utilizing alternative test strips can lead to inaccurate blood glucose readings, potentially compromising your diabetes management decisions. These inaccuracies stem from differences in strip chemistry, manufacturing processes, and meter compatibility. Always ensure you are using genuine FreeStyle Lite test strips for reliable and trustworthy results.
How often should I calibrate the meter?
The FreeStyle Lite meter generally does not require routine calibration. It’s designed as a “no-coding” system, meaning it automatically calibrates itself when a new test strip is inserted.
However, if you suspect inaccurate readings or experience inconsistent results, performing a control solution test is recommended. This verifies the meter and test strips are functioning correctly. Calibration is also advised if the meter has been dropped or exposed to extreme temperatures, ensuring continued accuracy.
What if my results are consistently high or low?
Consistently high or low blood glucose readings warrant investigation. First, ensure proper testing technique – adequate blood sample, correct strip insertion, and meter cleanliness.
If the issue persists, consult your healthcare provider. Factors like diet, medication, stress, and illness can influence readings. Do not adjust medication based solely on meter results; professional guidance is crucial. A control solution test can verify system accuracy, but medical advice is paramount for consistent anomalies.